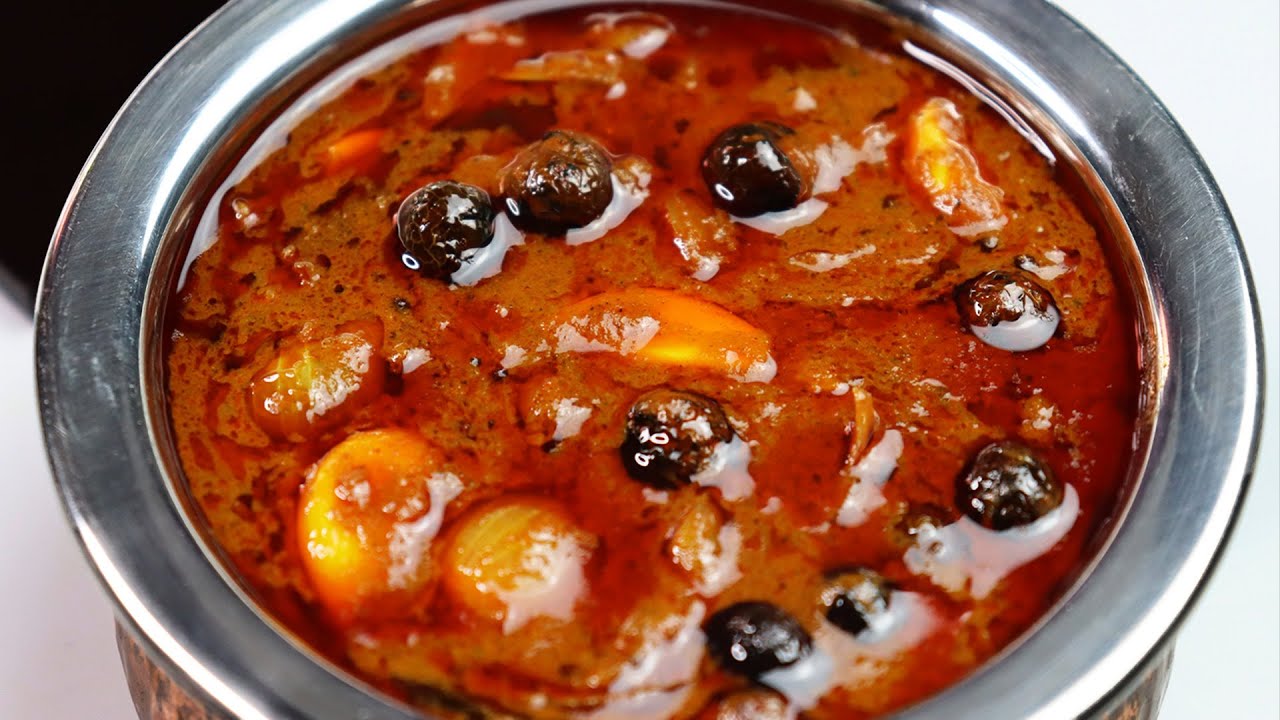
Six Types of Vegetarian Biryani and Pulao Varieties

Authentic South Indian Food Creator · Home Chef

Rate this recipe
South Indian vegetarian biryani and pulao varieties hold a very special place in Tamil cuisine. Unlike the heavy Mughal-style biryanis, Tamil-style veg biryanis are fragrant, lighter on the stomach, and burst with the natural flavors of fresh herbs, coconut milk, and garden vegetables. From the earthy richness of mushroom biryani to the delicate sweetness of coconut milk pulao, each variety tells a unique story of Tamil culinary tradition passed down lovingly through generations of home cooks and grandmothers across Tamil Nadu.
Tamil families absolutely adore these veg biryani varieties for their versatility and comforting nature. They are a staple for school lunch boxes, lazy Sunday family meals, and festive gatherings like Pongal, Karthigai Deepam, and temple festival days when meat is avoided. Mint pulao fills the kitchen with an irresistible aroma, while peas pulao is a quick weekday favorite that children never say no to. Soya chunk biryani is especially popular among health-conscious Tamil households as a protein-rich, satisfying meat-free alternative that even non-vegetarians enjoy wholeheartedly.
What makes this collection truly special is that all six varieties can be prepared using pantry staples and simple techniques that even beginner cooks can master confidently. The key to perfect Tamil-style biryani lies in using aged basmati rice, blooming whole spices in ghee or oil first, and never skipping the resting time after cooking so the grains stay fluffy and separate. Cooking in a heavy-bottomed vessel or pressure cooker makes the process quicker without compromising on flavor. Try one variety each week and watch your family fall in love with every single one.
Looking for more biryani recipes? Browse all vegetarian recipes →
Ingredients(27 items)
Instructions
💡 Tap a step to mark it doneWash the basmati rice thoroughly under cold water until the water runs clear. Soak the rice in enough water for 20 to 30 minutes. This step is essential as it helps the grains cook evenly and stay long and fluffy. Drain and set aside before cooking.
Soak the soya chunks in hot water with a pinch of salt for 15 minutes. Once soft, squeeze out all the water completely and set aside. This removes any raw soya smell and prepares the chunks to absorb all the biryani masala beautifully.
Heat ghee and oil together in a heavy-bottomed pot or pressure cooker over medium flame. Add bay leaves, cinnamon, cloves, cardamom, and star anise. Let them sizzle for about 30 seconds until very fragrant. This step of blooming whole spices in fat is what gives Tamil biryani its signature deep aroma.
Add the thinly sliced onions and cook on medium-high heat, stirring regularly, until they turn a deep golden brown. This caramelization process takes about 8 to 10 minutes but is the backbone of a flavorful biryani. Do not rush this step by increasing the heat too much.
Add ginger garlic paste and slit green chillies. Sauté for 2 minutes until the raw smell completely disappears. Then add the chopped tomatoes and cook until they become soft and mushy and the oil starts to separate from the masala, about 5 minutes.
Add red chilli powder, coriander powder, turmeric powder, and garam masala. Mix everything well and cook the masala on low flame for 2 minutes. Now add the yogurt and stir quickly to combine without curdling. The masala base should look rich, thick, and deeply colored at this point.
For mushroom biryani, add the sliced mushrooms now and sauté for 3 minutes. For soya chunk biryani, add the squeezed soya chunks. For peas pulao, add the green peas. For mint pulao, add a large handful of fresh mint leaves and blend half the mint separately into a paste and add it here for extra flavor.
For coconut milk pulao, skip the tomatoes in the earlier step and use coconut milk as the primary liquid. Add the thick coconut milk now along with the required water. For tomato pulao, use extra tomatoes pureed and reduce the water accordingly to get a vibrant red rice with a tangy taste.
Add the drained soaked rice into the pot and gently mix with the masala so every grain gets coated. Pour in the required water or the coconut milk and water combination. Add salt generously and squeeze in the lemon juice. Taste the liquid and adjust salt, as the rice will absorb it during cooking.
For the tawa biryani variation, cook the rice separately until 90 percent done. Heat a flat tawa or griddle, add butter and the partially cooked rice, toss with extra masala, fried onions, mint, and coriander. Stir fry on high heat for 3 to 4 minutes. This gives a lovely smoky street-food style flavor unique to tawa biryani.
For all other varieties cooked in the pot, bring the liquid to a boil. Then reduce the flame to the lowest setting, place a tight-fitting lid, and cook for 15 to 18 minutes. If using a pressure cooker, cook for exactly one whistle on medium flame and let the pressure release naturally.
Once cooked, open the lid and gently fluff the rice with a fork starting from the edges and working inward. Do not stir vigorously as this will break the long grains. Garnish generously with crispy fried onions, fresh mint leaves, and chopped coriander. Serve hot with raita, papad, and a wedge of lemon.
Tips and Tricks
- Always soak basmati rice for at least 20 minutes before cooking. This shortens the cooking time and ensures each grain cooks evenly without becoming mushy or sticky, giving you that beautiful separate grain texture that is the hallmark of a perfect Tamil biryani.
- For the richest flavor in coconut milk pulao, use freshly pressed thick coconut milk from fresh coconut or good quality canned coconut milk. Dilute it with water in a 1 to 1.5 ratio and use this as the entire cooking liquid instead of plain water for a creamy and aromatic result.
- The secret to making soya chunk biryani taste meaty and satisfying is to marinate the soaked and squeezed soya chunks in yogurt, ginger garlic paste, red chilli powder, and salt for at least 15 minutes before adding them to the masala. This ensures they absorb deep flavors and taste absolutely delicious.
Related Tags