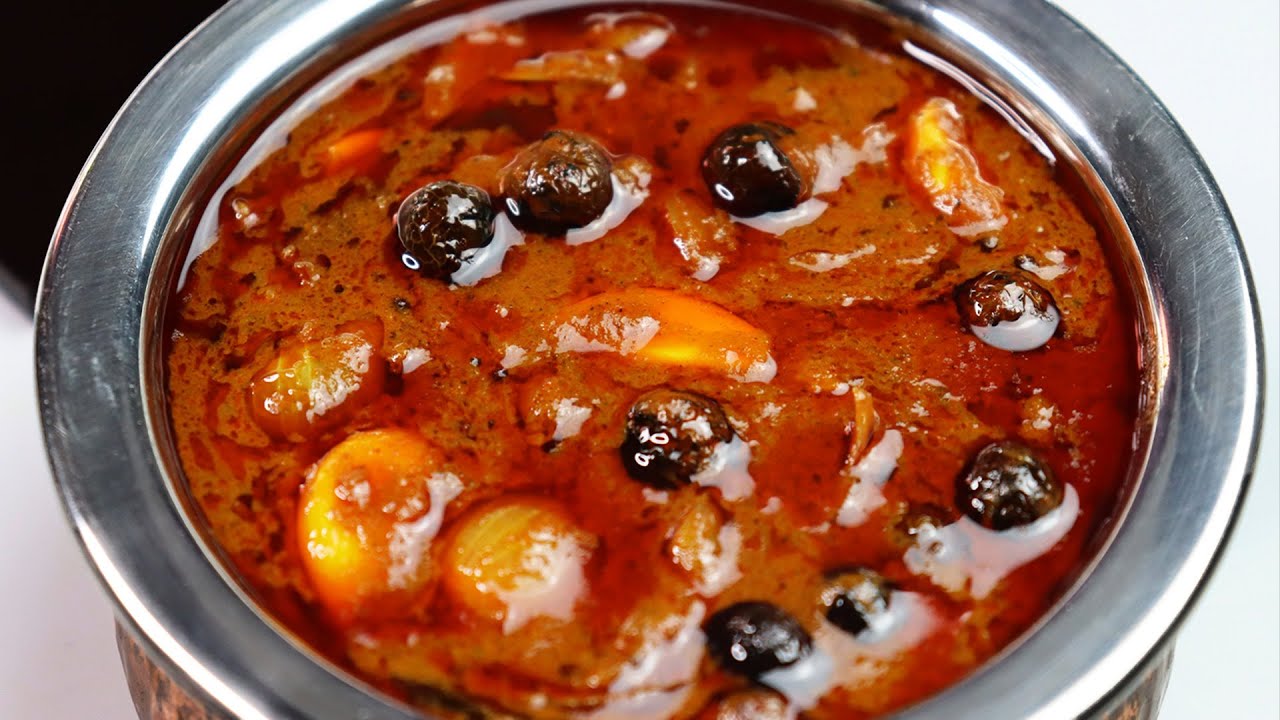
Soya Chunks Biryani | Meal Maker Biryani Recipe

Authentic South Indian Food Creator · Home Chef

Rate this recipe
Soya Chunks Biryani, lovingly called Meal Maker Biryani in Tamil households, is a hearty and aromatic layered rice dish that has earned a proud place in South Indian vegetarian cooking. Made with long grain basmati rice and soft, chewy soya chunks cooked in a richly spiced curry base, this biryani beautifully balances nutrition and bold Tamil flavors. Originating as a protein-rich vegetarian alternative to meat biryani, it carries all the warmth and fragrance of traditional South Indian biryani traditions.
Tamil families absolutely adore this dish because it brings the joy of a festive biryani to any ordinary weekday without the fuss of sourcing meat. It is a popular lunchbox favorite, a Sunday special, and a crowd-pleasing dish for small family gatherings and casual celebrations. Many mothers across Tamil Nadu prepare this for their school-going children as a wholesome midday meal, knowing that the soya chunks provide excellent plant-based protein that keeps the family energized and satisfied through the day.
What makes this recipe truly special is how simple yet deeply flavorful it turns out when you follow a few key steps. Soaking the soya chunks well and squeezing out the water completely removes any raw smell and gives them a wonderful spongy texture that soaks up all the spiced gravy beautifully. Cooking the rice to exactly 70 percent before layering is the secret to perfectly separated, fluffy grains. Using whole spices like star anise, kalpasi, and marathi mokku in the oil first unlocks that signature biryani aroma that fills your entire kitchen.
Looking for more biryani recipes? Browse all vegetarian recipes →
Ingredients(28 items)
Instructions
💡 Tap a step to mark it doneWash the basmati rice thoroughly under running water until the water runs clear. Soak the rice in enough water for 30 minutes, then drain and set aside. This soaking step ensures the rice grains cook evenly and remain long and separate in the final biryani.
Bring a pot of water to a boil and add the soya chunks. Boil them for 5 to 7 minutes until they soften and puff up completely. Drain the water, allow the chunks to cool slightly, then squeeze out every drop of water firmly using both hands. Repeat this squeezing two or three times to remove the raw smell completely. Set the squeezed soya chunks aside.
In a large heavy-bottomed pot or handi, heat 3 tablespoons of oil over medium flame. Add the whole spices: bay leaves, star anise, cinnamon, cloves, cardamom, kalpasi, marathi mokku, and mace. Fry them for about 30 seconds until they sizzle and release their aroma into the oil.
Add the thinly sliced onions to the pot and fry on medium-high heat, stirring frequently, until they turn deep golden brown. This caramelization of onions is essential for building a rich, sweet base flavor in the biryani. This process will take about 10 to 12 minutes. Do not rush this step.
Add the slit green chillies and ginger garlic paste to the browned onions. Saute on medium heat for 2 to 3 minutes until the raw smell of ginger garlic disappears and the mixture looks slightly dry and fragrant.
Add the chopped tomatoes along with turmeric powder, red chilli powder, coriander powder, and salt. Mix everything well and cook on medium heat until the tomatoes break down completely and the oil begins to separate from the masala, about 6 to 8 minutes. Stir occasionally to prevent sticking.
Add the squeezed soya chunks to the cooked masala and mix well so every piece is coated with the spiced tomato base. Cook for 3 to 4 minutes on medium heat. Then add the beaten curd, biryani masala powder, half the mint leaves, and half the coriander leaves. Stir and cook for another 2 minutes. The soya chunks curry is now ready. Set aside.
In a separate large pot, bring 4 cups of water to a boil. Add salt generously, a teaspoon of oil, and a few whole spices like a bay leaf and cloves for flavor. Add the drained basmati rice and cook on medium-high heat until the rice is about 70 percent cooked, meaning each grain is still slightly firm in the center. Drain immediately through a colander and set aside. Do not overcook the rice at this stage.
Now begin the layering process. In a heavy-bottomed deep pot or the same handi, spread the prepared soya chunks curry as the bottom layer. Spread the 70 percent cooked rice evenly on top of the curry. Scatter the remaining fresh mint and coriander leaves over the rice. Drizzle the saffron milk evenly over the top. Add the fried onions and drizzle 2 tablespoons of ghee all over.
Cover the pot tightly with a lid. To create a proper dum, place a heavy tawa (flat griddle) on the stovetop over low flame and place the biryani pot on top of it. This indirect heat prevents the bottom from burning. Cook on very low flame for 20 to 25 minutes. This dum cooking process allows the steam to slowly blend all the flavors together beautifully.
After 20 to 25 minutes, turn off the flame and let the biryani rest undisturbed with the lid on for another 5 to 10 minutes. This resting time is important as it allows the steam to settle and the flavors to deepen. When ready to serve, gently mix the biryani with a flat spatula from the sides, being careful not to break the rice grains.
Serve the hot Soya Chunks Biryani on a large plate garnished with extra fried onions, fresh coriander, and lemon wedges on the side. Pair it with cooling raita, a boiled egg if desired, or a simple onion tomato kachumber salad for a complete and satisfying meal.
Tips and Tricks
- Always squeeze the boiled soya chunks very firmly multiple times to remove excess water and the natural raw smell. Dry chunks absorb the masala much better and taste significantly more flavorful in the final biryani.
- Never cook the rice more than 70 percent before layering. Overcooked rice will turn mushy during the dum process. The grains should still have a slight bite in the center when you drain them from the boiling water.
- For an extra aromatic biryani, seal the lid of the dum pot with wheat flour dough around the edges to trap all the steam inside. This traditional method locks in the fragrance and produces the most authentic restaurant-style results at home.
Related Tags