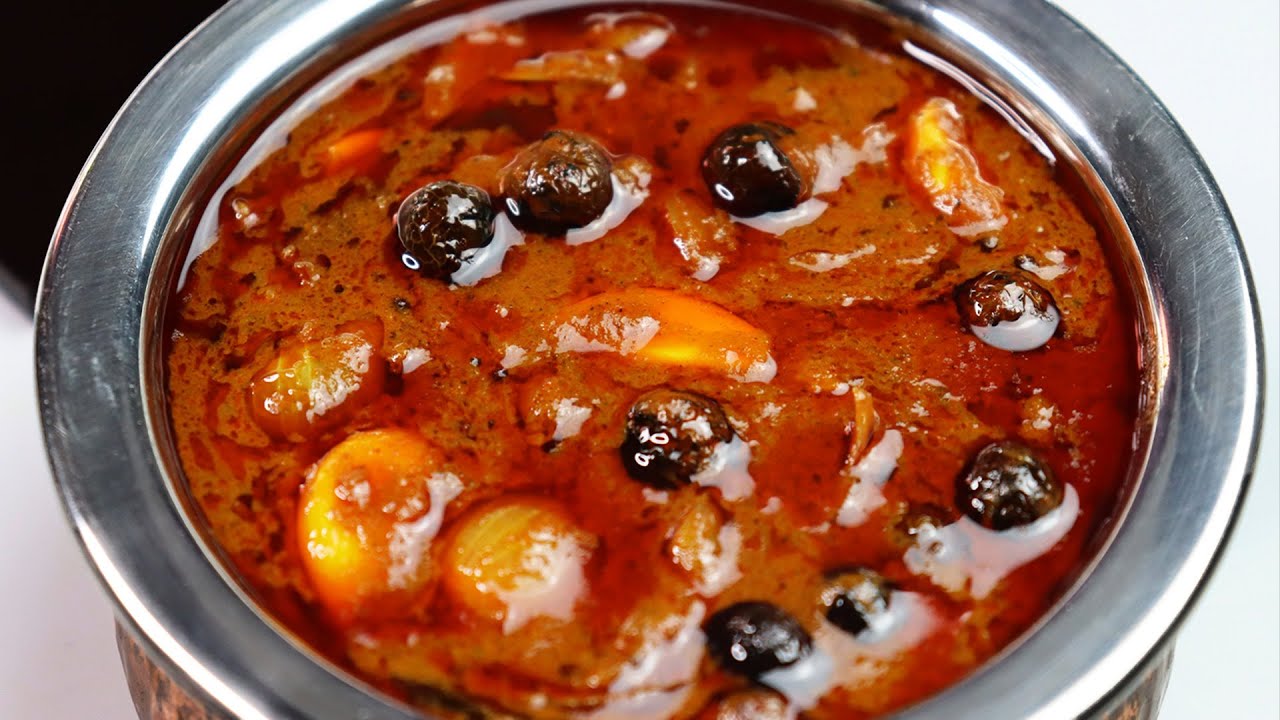
Tawa Veg Biryani - Easy Lunch Box Vegetable Biryani

Authentic South Indian Food Creator · Home Chef

Rate this recipe
Tawa Veg Biryani is a beloved South Indian one-pot rice dish that brings together fragrant basmati rice and colourful vegetables, all tossed together on a flat iron tawa with aromatic spices. Unlike the traditional dum biryani that requires long marination and slow cooking, this tawa style biryani is a quick weekday wonder rooted in Tamil home cooking. It is the kind of dish that fills your kitchen with the warm, irresistible aroma of whole spices, fresh mint, and ghee that makes everyone rush to the dining table.
Tamil families absolutely adore this recipe because it is practical, filling, and endlessly customisable. Amma-s across Tamil Nadu and Tamil households worldwide prepare this dish for school lunch boxes, weekend lunches, and even small family gatherings. It pairs beautifully with onion raita, brinjal curry, or a simple boiled egg on the side. During school days especially, this vegetable biryani is a go-to favourite because children love the mild spice, the soft vegetables, and the flavourful rice that does not feel heavy through the afternoon.
What makes this tawa biryani truly special is the technique of cooking everything directly on a wide tawa or kadai, which gives the rice a slightly roasted, restaurant-style flavour that you cannot achieve in a pressure cooker alone. The key to the best results is using day-old cooked basmati rice or slightly undercooked fresh rice so the grains stay separate and fluffy. Adding homemade kulambu masala or garam masala takes the flavour to the next level. Do not skip the fresh mint and coriander leaves as they bring that signature biryani brightness to every single bite.
Looking for more biryani recipes? Browse all vegetarian recipes →
Ingredients(26 items)
Instructions
💡 Tap a step to mark it doneCook the basmati rice with a little salt and a few drops of oil until it is just done but the grains are separate and firm. Spread the cooked rice on a wide plate or tray and allow it to cool completely. This step is very important as hot or sticky rice will break and clump when tossed on the tawa. If using leftover rice from the previous day, that works even better for this recipe.
Wash and chop all your vegetables into small even-sized pieces so they cook at the same rate. Boil or pressure cook the diced potato, carrot, green beans, and green peas together with a pinch of salt and turmeric for one whistle or until just tender. Drain the water and set the cooked vegetables aside. Do not overcook them as they will cook again on the tawa and you want them to hold their shape in the final dish.
Heat a wide iron tawa, large kadai, or non-stick pan over medium-high flame. Add the oil and ghee together. Once hot, add the whole spices: bay leaves, cinnamon stick, cardamom pods, cloves, and star anise. Let them sizzle and become fragrant for about 30 seconds, stirring gently so they do not burn. The aroma of these whole spices blooming in hot oil is what gives the biryani its deep, layered flavour.
Add the thinly sliced onions to the pan and fry on medium-high heat, stirring frequently, until they turn a deep golden brown colour. This step takes about 8 to 10 minutes and should not be rushed. Well-caramelised onions are the backbone of a good biryani flavour. Add the slit green chillies halfway through cooking the onions and stir everything together well.
Add the ginger garlic paste to the golden onions and cook on medium flame for 2 minutes, stirring constantly, until the raw smell of the paste disappears completely. Then add the chopped tomatoes, a pinch of salt, and the turmeric powder. Cook the tomatoes down, mashing them lightly as you stir, until the oil starts to separate from the masala and the mixture looks thick and dry. This should take about 4 to 5 minutes.
Lower the flame and add the beaten yogurt to the tomato masala. Stir quickly and continuously so the yogurt does not split. Cook for 2 minutes. Now add the red chilli powder, biryani masala powder, and kulambu masala or garam masala. Mix everything together well and cook the masala on medium flame for another 2 minutes until it is fragrant and the oil rises to the top, showing the masala is fully cooked.
Add the boiled vegetables to the masala and toss well so every piece is coated in the spiced masala. Cook on medium-high heat for 2 minutes, tossing everything gently. Add half the fresh mint leaves and half the coriander leaves at this stage and mix through. Taste the vegetable mixture for salt and adjust if needed before adding the rice.
Now add the cooled cooked rice to the pan over the vegetable masala. Using a wide spatula or a large flat spoon, gently fold and toss the rice with the vegetables on high flame. Avoid stirring too hard as this will break the grains. Instead, use a folding motion, lifting from the bottom and turning over. Toss on high heat for 3 to 4 minutes so the rice gets a slightly roasted flavour and each grain is evenly coated with the masala.
Drizzle the lemon juice over the biryani and toss once more. Turn off the flame. Garnish the tawa veg biryani generously with the remaining fresh mint leaves, fresh coriander leaves, and fried onions if using. Give a final gentle mix. Serve immediately with onion raita, cucumber salad, or a simple boiled egg on the side. For lunch boxes, allow the biryani to cool slightly before packing so it stays fresh and the container does not get steamy.
Tips and Tricks
- Always use cooked and completely cooled rice, preferably day-old refrigerated rice, for tawa biryani. This prevents the grains from sticking together and breaking during tossing on high heat, giving you that perfect restaurant-style separated rice texture.
- Do not skip caramelising the onions properly to a deep golden brown. This step adds a natural sweetness and depth of flavour to the biryani that no spice powder can replace. Be patient and stir frequently to prevent burning.
- For a richer flavour and better aroma, use homemade kulambu masala or garam masala as suggested in the recipe. Store-bought masala works but homemade spice blends elevate the biryani to a completely different level that Tamil families will immediately recognise and love.
Related Tags