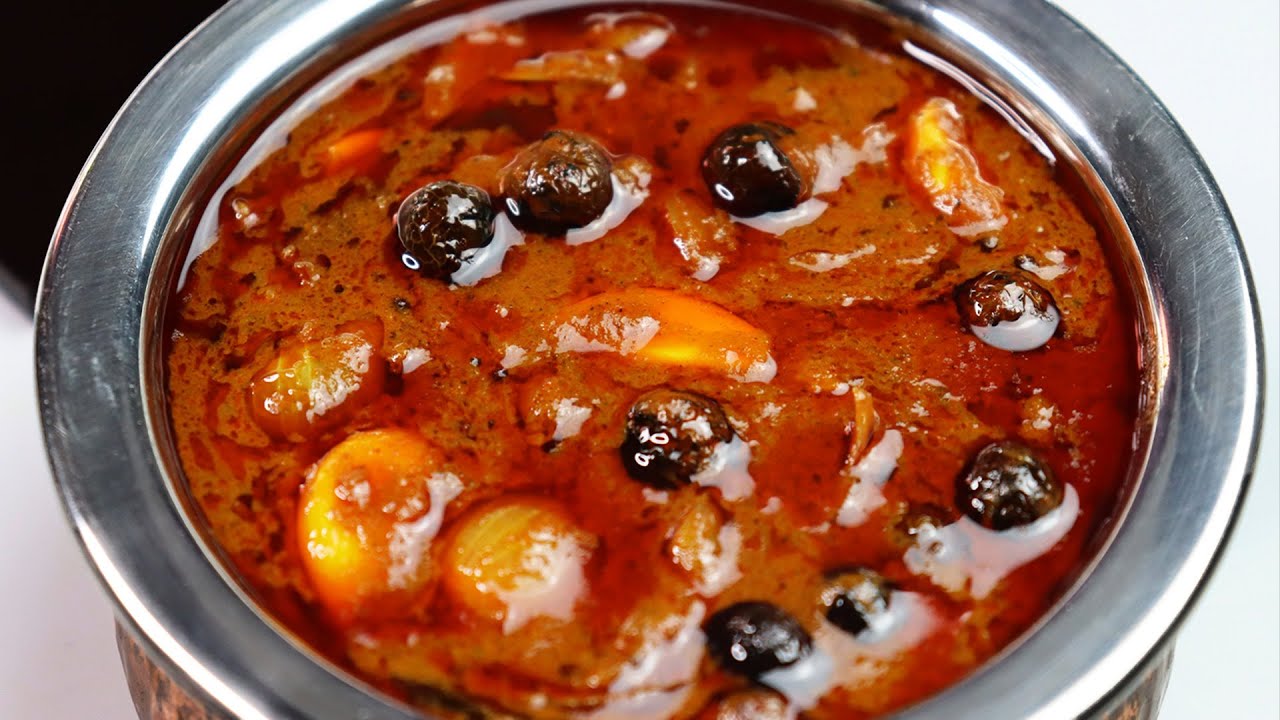
Vegetable Biryani

Authentic South Indian Food Creator · Home Chef

Rate this recipe
Vegetable Biryani is a beloved one-pot rice dish that holds a very special place in South Indian and Tamil cuisine. Rooted in the rich culinary traditions of Tamil Nadu, this aromatic dish brings together fragrant basmati rice, garden-fresh vegetables, and a beautiful blend of whole spices. Influenced by the Mughal cooking style yet adapted beautifully to Tamil tastes with coconut milk, curry leaves, and locally loved spices, Veg Biryani is a dish that carries warmth, culture, and incredible flavour in every single grain.
For Tamil families, Vegetable Biryani is far more than just a meal — it is a celebration on a plate. Families prepare it on Sundays as a special treat, during school holidays when children are home, and for festive gatherings like Pongal, Diwali, and Eid. It is the dish that brings everyone together around the dining table with excitement. Tamil mothers and grandmothers take deep pride in their own version of biryani, and every household has its own cherished secret — be it an extra handful of mint or a spoonful of ghee at the end.
What makes this recipe truly special is how achievable it is for any home cook. Using simple pantry ingredients and fresh vegetables like carrots, beans, and potatoes, you can create a restaurant-quality biryani right in your own kitchen. The key to success lies in using good quality aged basmati rice, frying the onions to a deep golden colour, and never skipping the fresh mint and coriander leaves. Cooking on dum — sealing and steaming at the end — gives this biryani its signature fluffy, perfectly separated rice that the whole family will love.
Looking for more biryani recipes? Browse all vegetarian recipes →
Ingredients(28 items)
Instructions
💡 Tap a step to mark it doneWash the basmati rice thoroughly under running water two to three times until the water runs clear. Soak the rice in enough water for 30 minutes. This helps the grains cook evenly and remain long and fluffy. Drain and set aside before cooking.
Prepare all your vegetables by washing, peeling, and cutting them into medium-sized pieces. Keep the carrots, beans, potatoes, and peas ready. Slice the onions very thinly so they fry evenly and caramelise beautifully. Chop the tomatoes and slit the green chillies. Having everything ready before you begin cooking makes the whole process smooth and enjoyable.
Heat oil and ghee together in a large heavy-bottomed pot or pressure cooker over medium heat. Once hot, add the bay leaves, cinnamon stick, cardamom pods, cloves, star anise, and fennel seeds. Fry the whole spices for about 30 seconds until they become aromatic and begin to splutter. This step is very important as it builds the flavour base of the entire biryani.
Add the thinly sliced onions to the pot. Fry on medium heat, stirring frequently, for about 12 to 15 minutes until the onions turn a deep golden brown colour. Do not rush this step — properly caramelised onions are the secret to a rich, flavourful biryani. Add a pinch of salt while frying to help the onions soften faster.
Add the slit green chillies and ginger garlic paste to the golden onions. Stir well and fry for 2 to 3 minutes on medium heat until the raw smell of the ginger garlic completely disappears. You will notice the mixture becoming fragrant and the oil beginning to separate slightly from the sides.
Add the chopped tomatoes to the pot along with the turmeric powder, red chilli powder, coriander powder, and biryani masala powder. Mix everything together well. Cook on medium heat for 5 to 6 minutes, stirring occasionally, until the tomatoes break down completely and the oil starts to separate from the masala. The mixture should look thick and well-cooked.
Add the beaten curd (yogurt) to the masala and mix quickly. Then add all the prepared vegetables — carrots, beans, potatoes, and green peas. Toss everything together to coat the vegetables well with the masala. Cook for 3 to 4 minutes, stirring gently, so the vegetables absorb all the wonderful spice flavours.
Add the fresh mint leaves and half of the fresh coriander leaves to the pot. Stir in the thick coconut milk and mix gently. The coconut milk adds a beautiful creamy richness and a subtle sweetness that is very characteristic of Tamil-style biryani. Season with salt to your taste at this stage.
Add 3.5 cups of water to the pot. Taste the liquid and adjust salt — the water should taste slightly saltier than normal as the rice will absorb it. Bring the water to a rolling boil on high heat. Once it is boiling vigorously, add the drained soaked basmati rice and stir gently just once to distribute the rice evenly.
Reduce the heat to medium and cook the rice uncovered until about 80 percent of the water is absorbed. You will see small craters forming on the surface of the rice. At this point, drizzle the saffron-soaked milk over the top of the rice and scatter the remaining fresh coriander leaves. Do not stir the rice now.
Cover the pot with a tight-fitting lid. For the traditional dum method, place a flat tawa (griddle) under the pot and reduce the heat to the lowest possible setting. Cook on this very low dum heat for 15 to 18 minutes. This gentle steaming allows all the flavours to meld together and the rice to cook to perfection without burning the bottom.
After 18 minutes, switch off the heat and allow the biryani to rest undisturbed for 5 minutes with the lid still on. This resting time is very important as it allows the steam to settle and the grains to firm up. After resting, open the lid and use a large fork or a flat spatula to gently fluff and mix the biryani from the sides without breaking the rice grains.
Serve the hot Vegetable Biryani immediately onto plates. It pairs wonderfully with cooling raita made with curd and onions, a rich vegetable salna or kurma, and some sliced onions with lemon juice. Garnish each serving with a few fresh coriander leaves and a small drizzle of ghee for an irresistible finish that will have everyone asking for seconds.
Tips and Tricks
- Always use aged basmati rice for the best results — older basmati has lower moisture content and cooks into beautifully long, separate grains that are essential for a good biryani. Soaking the rice for at least 30 minutes before cooking is equally important.
- Do not skip the dum cooking step. Placing the pot on a tawa and cooking on very low heat for the final 15 minutes is what gives biryani its signature restaurant-style texture and allows all the flavours to develop fully inside the sealed pot.
- Frying the onions to a deep golden brown is the single most important step in making a flavourful biryani. Take your time with this — rushing the onion frying stage will result in a biryani that lacks depth and sweetness. Add a small pinch of sugar to help caramelise faster if needed.
Related Tags